Fence Post Installation Best Practices for Lasting Results

Last Updated: November 19, 2026
Quick Summary
Fence post installation best practices start with careful layout, setting the hole about one-third of the post's length deep, and spacing line posts evenly, usually 8 feet apart for privacy fences. Match the method to your soil, and use concrete for tall privacy fences, gate posts, and loose or wet ground.
Stake corners and gates, then pull a string line to mark a straight fence run.
Set posts about one-third of their length in the ground, roughly 3 feet for an 8-foot post.
Call 811 before digging to check for buried utility lines.
Add a few inches of gravel at the hole bottom for drainage.
Use concrete for gate and corner posts, which carry the most load.
Table of Contents
Start With Layout, Hole Depth, and Post Spacing
Fence post installation best practices start before anyone picks up a shovel. Good layout, correct hole depth, and steady post spacing decide how well your fence stands up over the years. Selecting the right materials remains just as critical as the physical installation process when choosing durable backyard fencing to ensure your perimeter withstands the elements for decades.

Mark your fence line with stakes and a string line, then measure corners and gate positions so the run is straight and square. If you would rather have a local pro handle the posts, you can explore professional metal fence installation options.
Stake each corner and gate post
Pull the string tight to show the fence line
Check diagonal measurements to confirm square corners
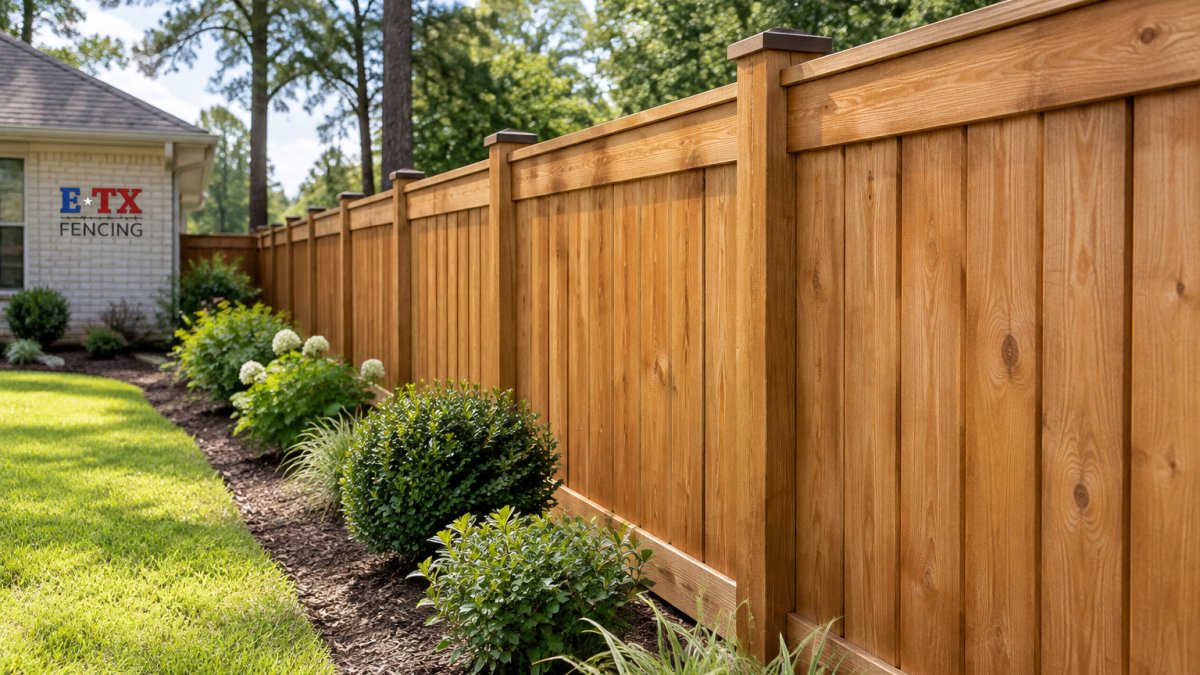
Space line posts evenly, usually 8 feet apart for privacy fences
A common rule is to set about one-third of the post's length in the ground, roughly 3 feet deep for an 8-foot post. Deeper holes help posts resist leaning in wind and soil movement.
Watch out: Digging before you call for utility locates can cause expensive damage. Check for buried lines first (811 Before You Dig).
Wood Fence Post Installation Best Practices
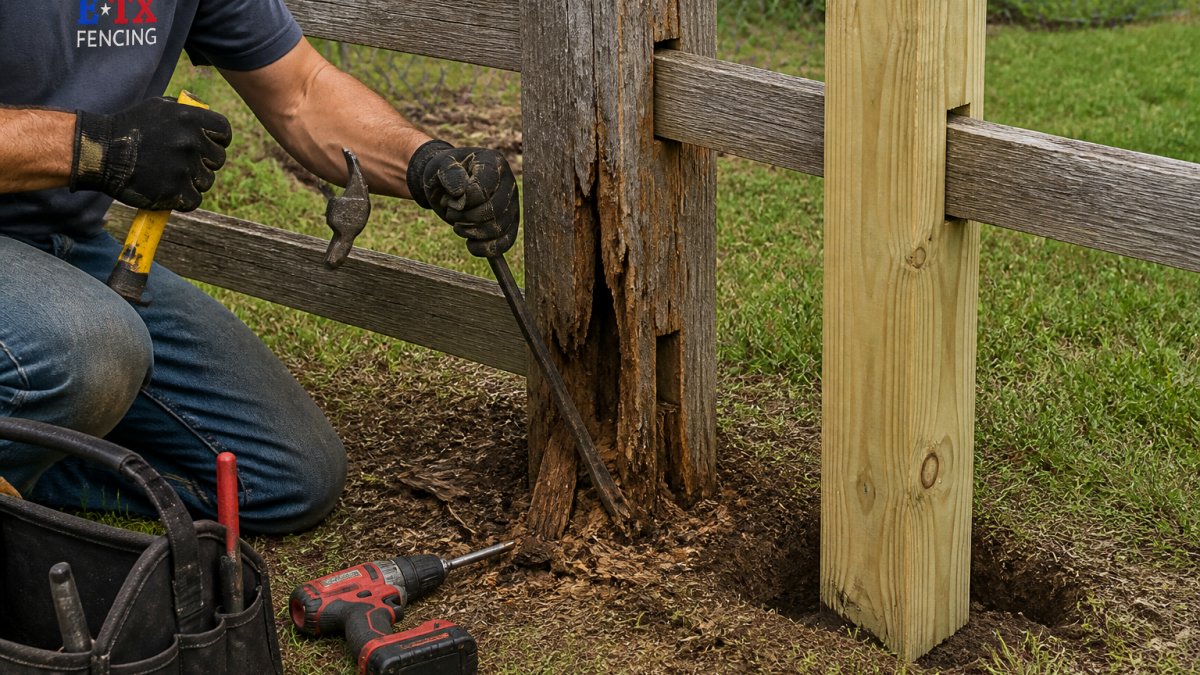
Wood posts are popular for privacy and ranch fences, and treated wood resists rot well, but how you set the post matters as much as the wood. If a post is already soft or leaning, our step-by-step guide to repairing rotting fence posts shows how to assess the damage and restore stability.
Everyday Home Repairs
Look for posts labeled for ground contact, since an above-ground-rated post is not meant to be buried. For a ranch fence that needs extra longevity, a naturally rot-resistant species or a metal post may be a better fit.
Match the setting method to your soil.
Clay or poorly draining soil: Set the post on a few inches of gravel, then use gravel or compacted soil rather than a solid concrete plug that traps moisture.
Sandy or loose soil: Concrete gives the firmest hold, and a wider footing helps spread the load.
Wet or low-lying ground: Use a gravel footing and a post that stands slightly proud of the soil line so water runs away.
Frost-prone ground: The hole should reach below the frost line so frost heave does not push the post up. Local building departments can tell you the typical frost depth.
Set the post step by step.
Dig the hole about one-third of the post's length deep and roughly three times the post's width across.
Add a few inches of gravel at the bottom for drainage.
Set the post and check it plumb on two sides with a level.
Backfill in layers, gravel, compacted soil, or concrete, tamping each layer.
Recheck plumb as you fill, since tamping can nudge the post off line.
Watch out: Burying an untreated or above-ground-rated post, or setting a wood post in a concrete plug that traps water, is the most common cause of a post rotting within a few years.
If you are unsure which method suits your soil, our team can help you choose before you dig. You can also request a free fence estimate before starting the job.
The steps below summarise how to set a wood fence post so it stays solid and resists rot.
Step | What to do | Time or frequency |
Dig hole | Depth about one-third of post length, width about three times post width | Before setting the post |
Add gravel | Place a few inches of gravel at the bottom | Before setting the post |
Set post | Check plumb on two sides with a level | Before backfilling |
Backfill | Add gravel, compacted soil or concrete in layers, tamping each | In layers |
Recheck plumb | Confirm the post is still plumb as you fill | During backfilling |
Metal Fence Post Installation Best Practices
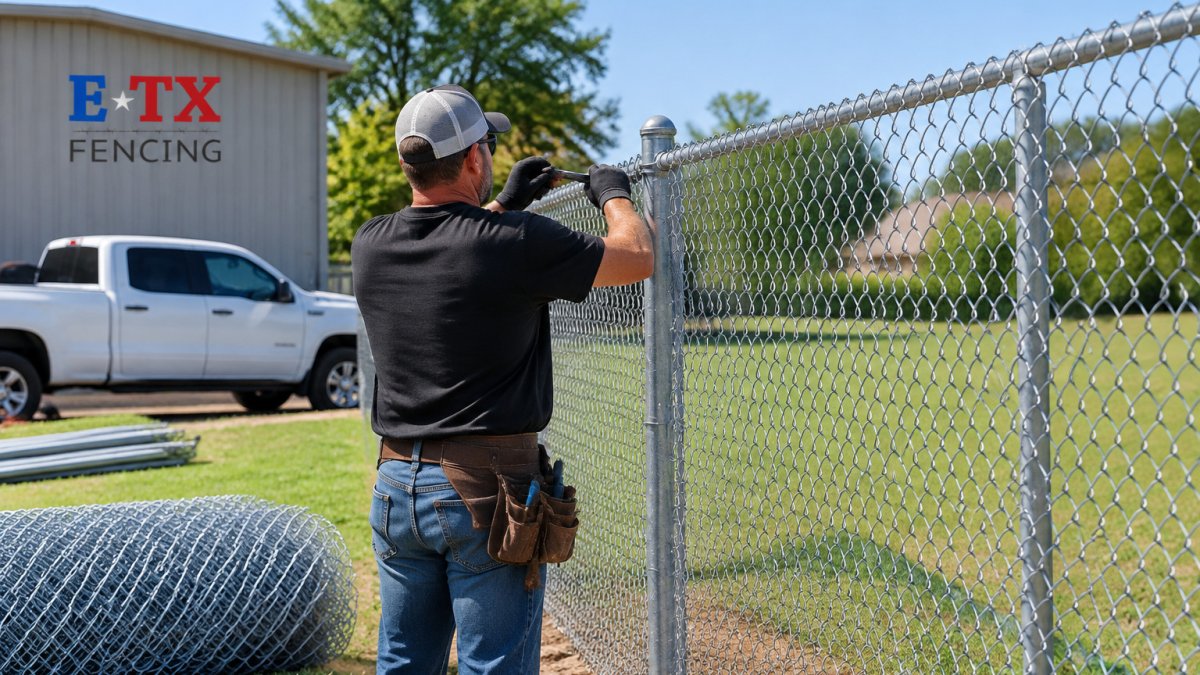
Metal posts, including steel T-posts and galvanized line posts, are strong and resist rot. They suit ranch fencing, wire mesh, and chain link.
T-posts can be driven directly into the ground with a post driver, which is faster than digging. Drive them to the depth your fence height requires and check that each post stays plumb. For heavier loads, such as gate posts, set them in concrete.
Use a post driver cap to protect the top of the post while driving. Check the line with your string as you work so the fence stays straight.
Setting Fence Posts Without Concrete vs. How to Concrete Fence Posts
Many homeowners ask whether they need concrete at all. It depends on your fence, your soil, and how much load the posts will carry.
When setting without concrete works well
Light ranch, wire, or temporary fences
Firm, well-draining soil
Short posts carrying little wind load
Fences you may want to move or adjust later
Setting without concrete is faster and uses less material, but it is less stable in loose or wet soil and more prone to leaning under wind or heavy gates.
When concrete is the better choice
Tall privacy fences that catch wind
Gate and corner posts, which carry the most load
Loose, sandy, or wet soil
Fences you want to stay put for decades
Concrete gives a stronger hold and resists leaning, but it takes longer to cure, costs more, and is harder to remove later. To see which factors shape the price of a concrete-set fence, read what drives chain link fence installation cost.
A simple decision guide
Fence height: Taller fences catch more wind and benefit from concrete, especially at corners and gates.
Wind exposure: Open, exposed sites push harder on posts than sheltered yards.
Soil: Loose or wet ground needs the extra hold concrete provides; firm, well-draining ground can often go without.
Permanence: If the fence is meant to last, concrete is the safer bet.
Post material: Metal gate posts and heavy wood posts carry more load and hold better in concrete.
How to concrete a post
Dig the hole about one-third of the post's length deep and roughly three times the post's width across.
Add a few inches of gravel at the bottom for drainage.
Set the post plumb and brace it so it cannot move.
Mix the concrete per the bag directions and pour it around the post, working out air pockets.
Slope the concrete slightly away from the post so water runs off.
Leave the brace in place while the concrete cures, usually a day or more, before attaching fence sections or hanging a gate.
Watch out: Pouring concrete into a dry hole without gravel at the bottom, or removing the brace too soon, is a common cause of posts that lean within the first season.
For most privacy fences and gate posts, concrete gives the most lasting results. For lighter ranch or wire fences in firm soil, setting without concrete can work well. If you are unsure which method fits your project, our team can help you decide.
Frequently Asked Questions
How deep should a fence post hole be?
A common guideline is to bury about one-third of the post's length, with the hole at least 2 feet deep for most residential fences. Taller fences and gate posts need deeper holes for stability. Dig a little deeper in loose or sandy soil, and make sure the bottom of the hole is level so the post sits evenly. For the best results, check your planned depth against the fence height before you start digging.
Should fence posts be set in concrete or gravel?
Both methods work well, and the right choice depends on your fence and your soil. Concrete gives the strongest hold, which suits gate posts and taller privacy fences. Gravel helps with drainage and can be a good fit for lighter fences in well-draining soil. Many homeowners set corner and gate posts in concrete and use gravel for the line posts between them. Your ETX Fencing team can help you decide which approach fits your property.
How far apart should fence posts be?
Most wood fences place posts about 8 feet apart, which matches the width of standard fence panels. Chain link and ranch fences may use different spacing depending on the fence style and the load it carries. Place a post at every corner, at each change in direction, and on both sides of a gate. A taut string line helps you keep spacing even from end to end.